
Latent Fingerprinting Technique
The Certificate of Forensic Science is an online program that will give you a fundamental understanding of the nature and scope of forensic science, including techniques like anthropometry, fingerprinting and bloodstain analysis.
Latent Fingerprinting Technique – Fingerprints
The role of fingerprint collection is to analyse a crime scene in order to either connect a victim/suspect to that scene. Fingerprinting can also be used to identify a persons identity or exclude a person from a crime scene by comparing a certain fingerprint found.
There are several different techniques to collect fingerprints. The 3 main processes are called latent, patent and chemical processing. Deciding which process to be used requires knowledge about the characteristics of the material the supposed fingerprints are on. Usually the characteristic is whether or not the material is porous or non-porous (the surfaces ability to absorb liquids).
Latent: Items or surfaces are dusted using a special powder, photographed and lifted with lifting tape
Patent: Patent fingerprints are easily seen by the human eye and are photographed with a ruler for scale
Chemical Processing: Chemicals are used to make fingerprints visible on different surfaces that regular latent fingerprint technique cannot, usually done in laboratories i.e. Super glue fuming is a chemical process using superglue heated up in a developing chamber to make the fingerprint semi permanent in order to use the latent fingerprinting technique
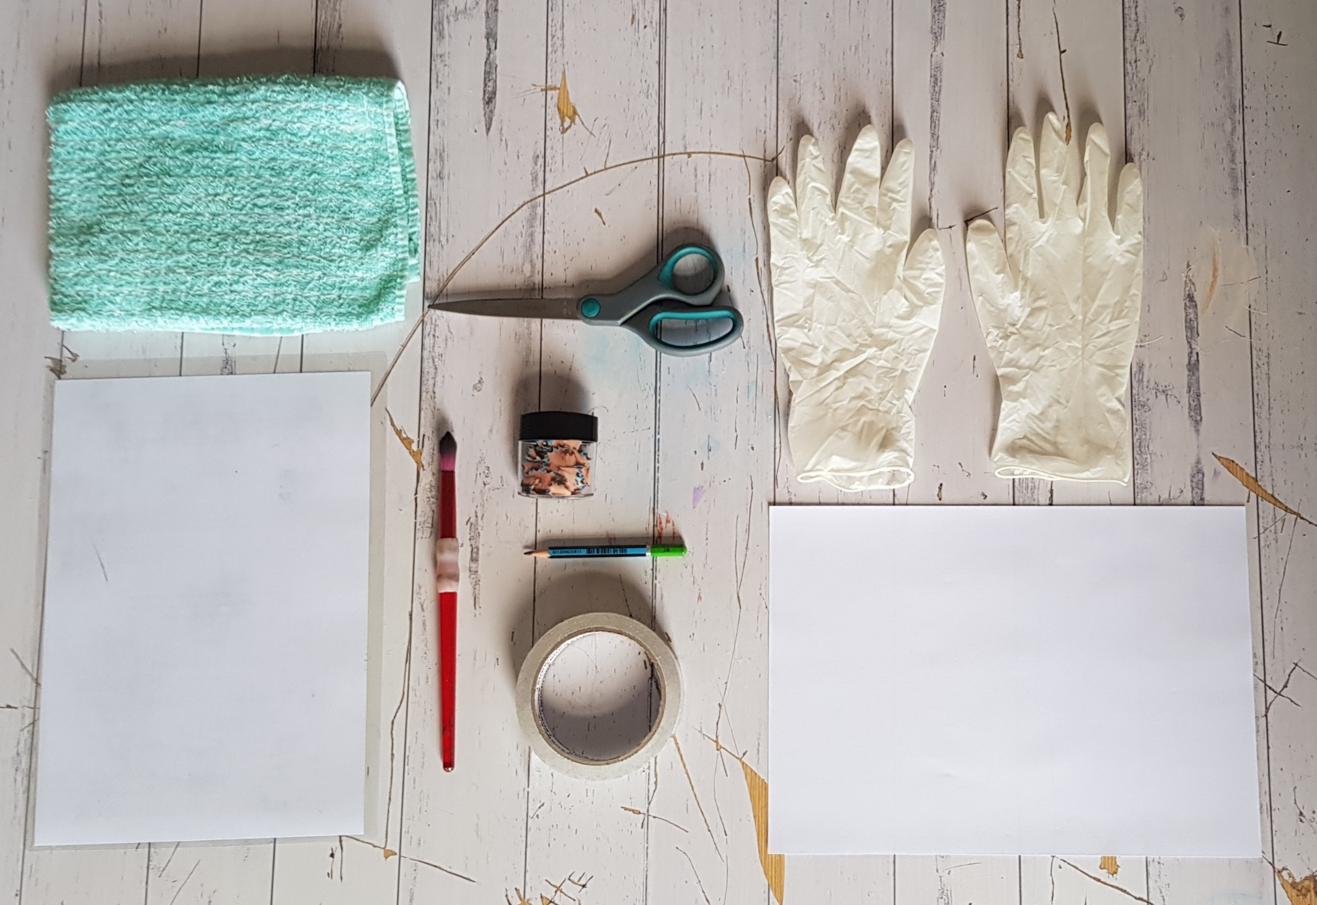
Supplies List
- 1 pair of scissors
- Pair of gloves
- Fluffy paintbrush
- Roll of clear tape
- A piece of paper
- Laminated piece of paper
- Pencil (graphite)
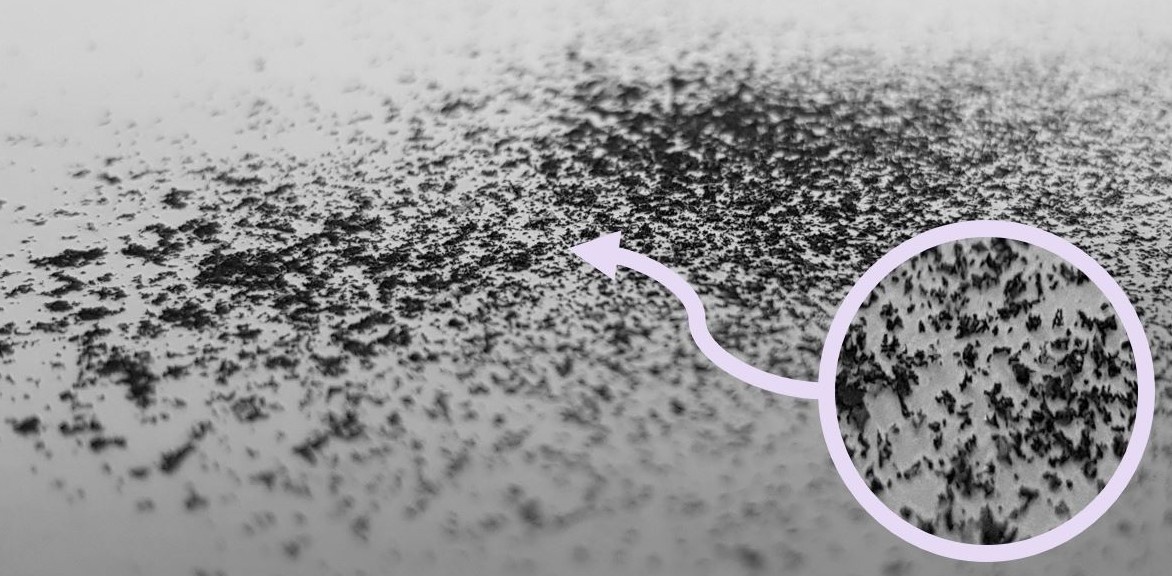
Step 1 - Create Fingerprint Powder With A Graphite Pencil
- Fingerprint powder works by adhering to the oils and moistures of our fingerprints which causes them to become visible to the naked eye and can be analysed
- I found the ‘Micador Essential Pencils FSC 100% - 2B’ had the best graphite
- I hadn’t actually done any research into what kind of powder law enforcement/investigators use before conducting my prior experiments

- I had the idea to use graphite from recalling the time when my mother would sharpen my pencils for me as a child with scissors and would leave pencil shavings for me to shade my drawings with
- Most investigators use Aluminium Powder
Step 2 - Find A Willing Accomplice
- This is Jonathan, He’s a casual for Cooks Hill Campus
- I asked him to wipe his index, middle and ring finger on his forehead and then press them on a piece of laminated paper (AKA a non-porous material, which is easier to collect fingerprints compared to porous materials)
- Fingerprints will degrade quickly if natural oils/amino acids are not present, these allow fingerprint residues to last long enough for collection by law enforcement
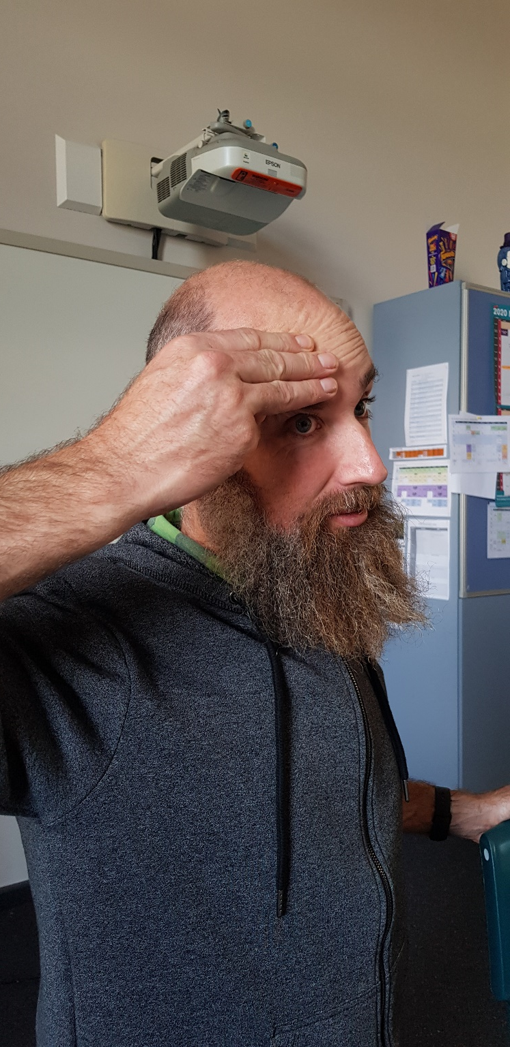
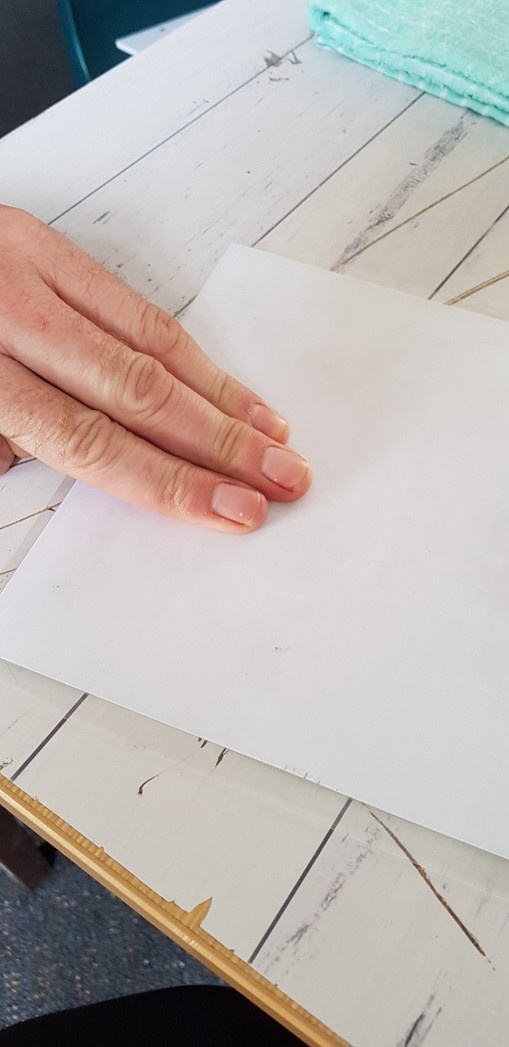
- Natural oils are present on your face all the time (prominently on your forehead) which is why I instructed every volunteer to wipe on their own forehead before pressing their fingers to the paper
Step 3 - With The Corrected Technique, Powder The Brush
- Protocol calls for minimum amounts of powder usually collected from the lid of the powders container to grab only small amounts
- Against the proper protocol of normal latent fingerprinting techniques I used large quantities of powder, since the powder I used was:
1. Handmade from Pencil Graphite
2. Lower Quality of Professional Powder
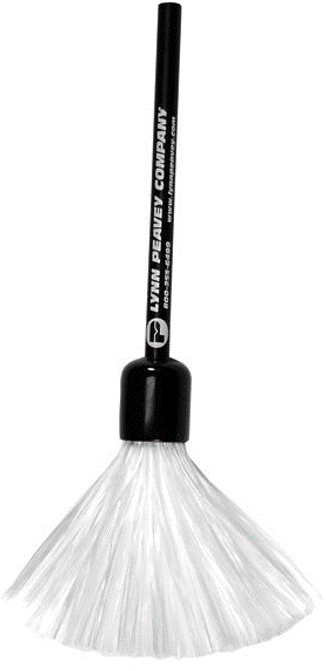

- Paint brushes are not optimal for dusting, the bristles are dense, tough and resistant to pressure
- Which caused light circle motions seen in normal techniques out of the question for fear of smudging the print, instead a more gentle tapping was needed
Step 4 - Dust The Fingerprints
- Dusting the fingerprints is one of the most important parts of the process
- Incorrectly dusting the prints can destroy or smudge the prints and thus leave the print useless for examination
- After much trial and error I found the best way to transfer powder to create the clearest prints with the materials I had on hand was to use lots of powder and light taps (NOT SWIPES) with the fluffiest paint brush I had access to
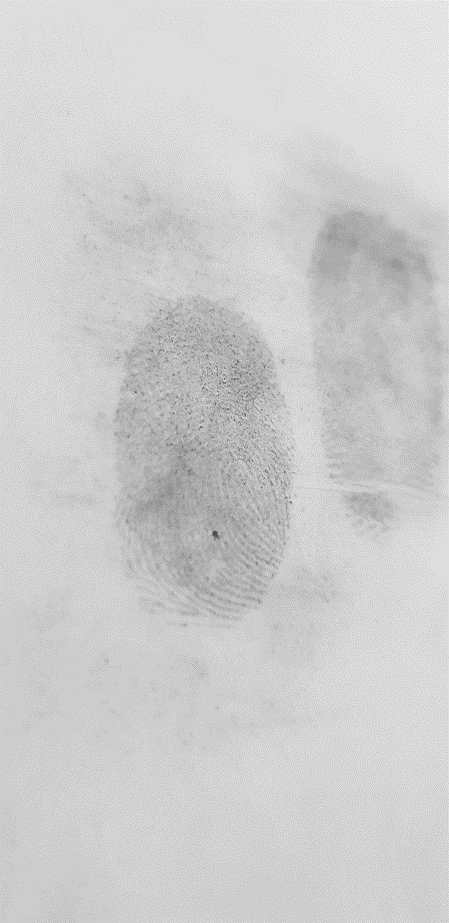
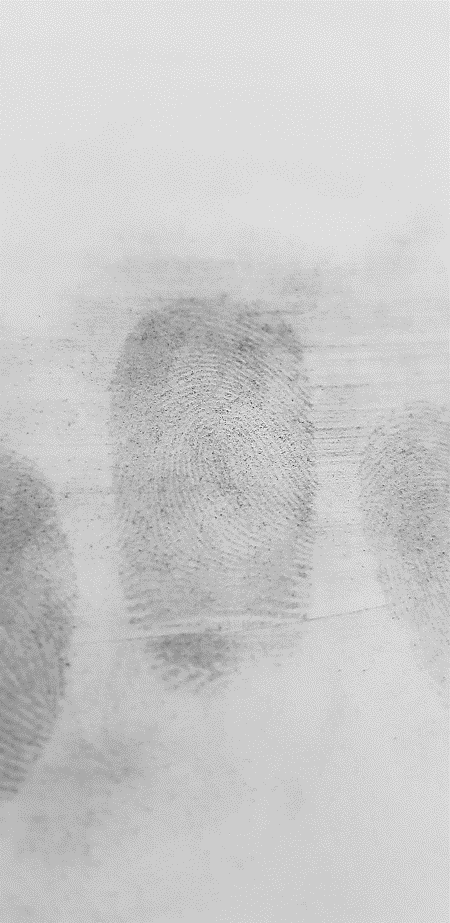
Step 5 - Check The Fingerprint is Fully Coated
- With the proper tools you can avoid leaving smudges of powder as seen in the photos around the finger print
- Although the powder is fully coated for each fingerprint it has some unevenness caused by the afore mentioned tools
- Which can still be used for analysis
- During this I should have put a ruler to compare the fingerprints with in photographs
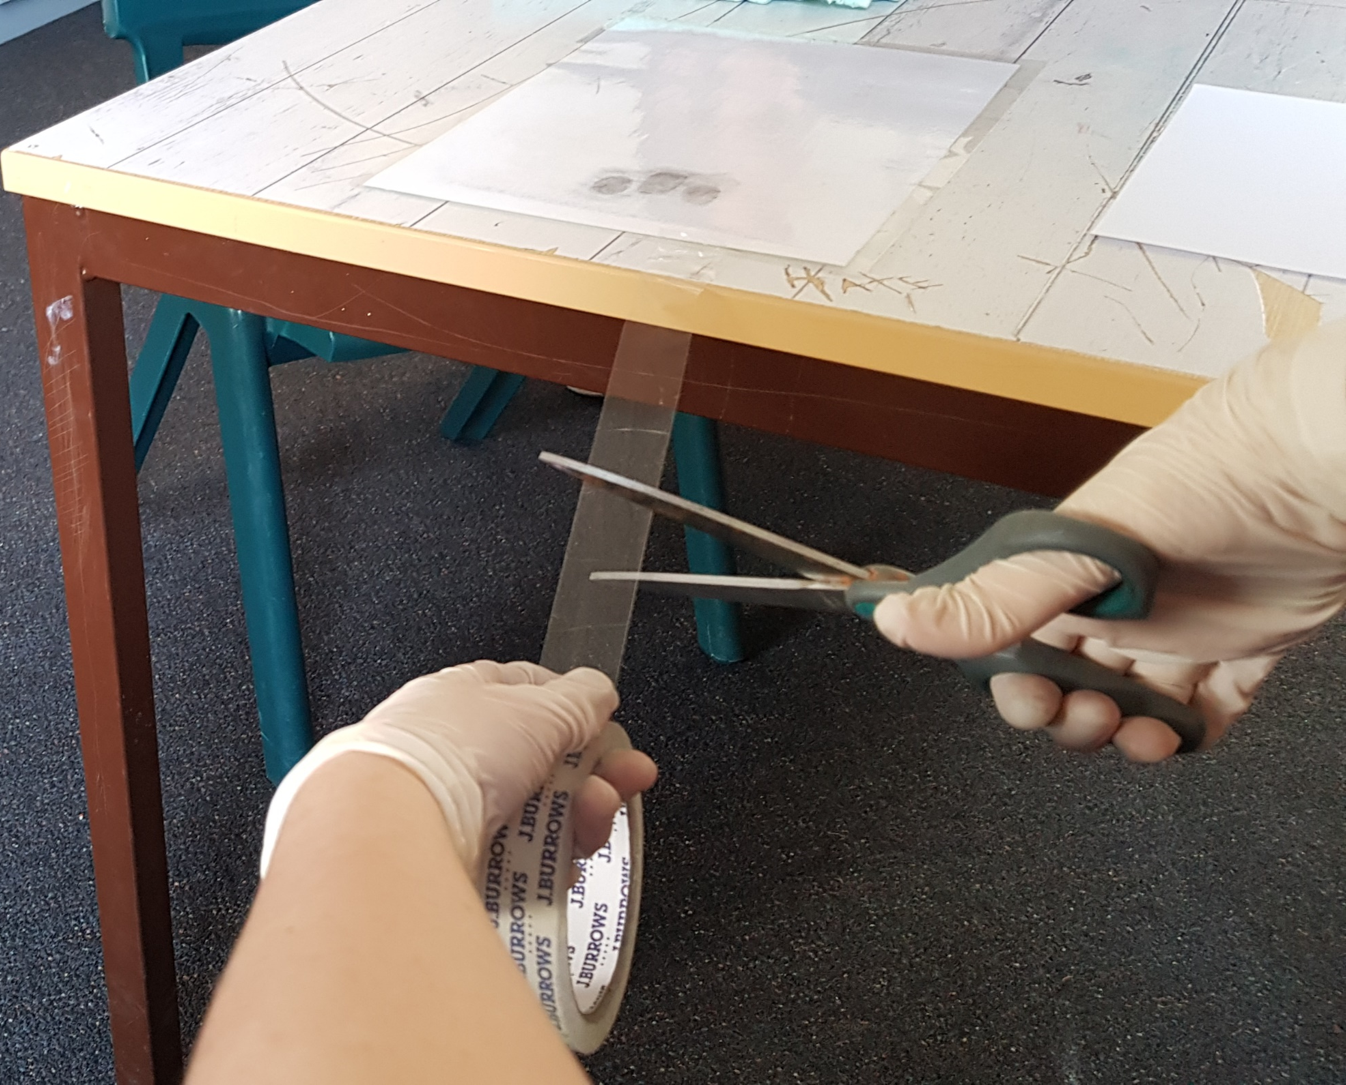
Step 6 - Cut Tape To Entrap The Fingerprint
- With the proper tools you can avoid leaving smudges of powder as seen in the photos around the finger print
- Although the powder is fully coated for each fingerprint it has some unevenness caused by the afore mentioned tools
- Which can still be used for analysis
- During this I should have put a ruler to compare the fingerprints with in photographs
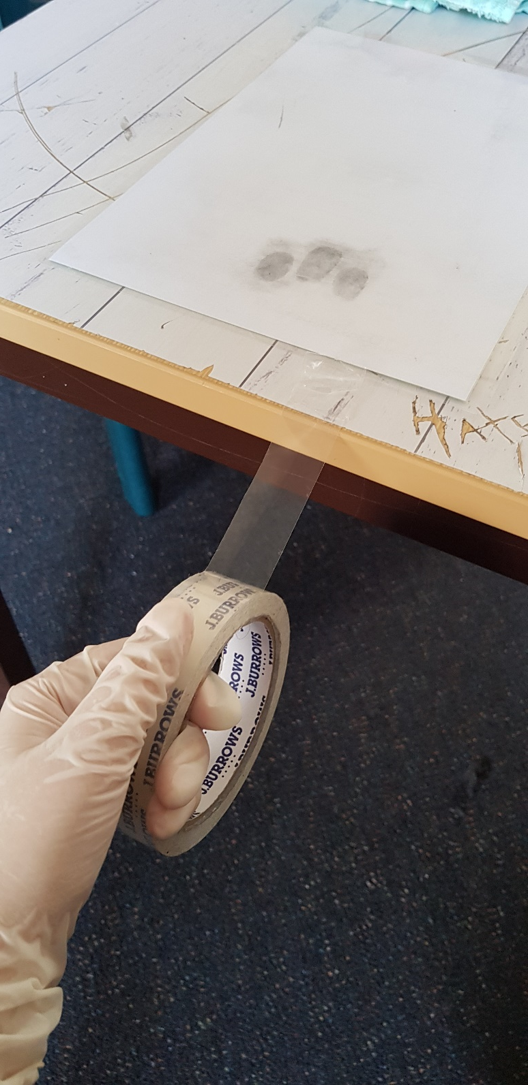
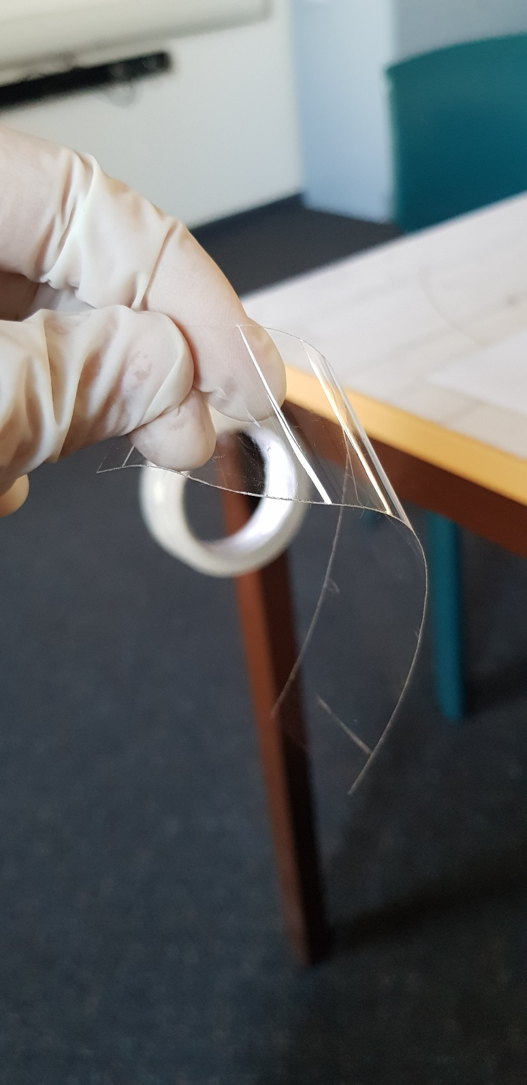
Step 7 - Press Tape To The Fingerprint & Lift
- With the proper tools you can avoid leaving smudges of powder as seen in the photos around the finger print
- Although the powder is fully coated for each fingerprint it has some unevenness caused by the afore mentioned tools
- Which can still be used for analysis
- During this I should have put a ruler to compare the fingerprints with in photographs
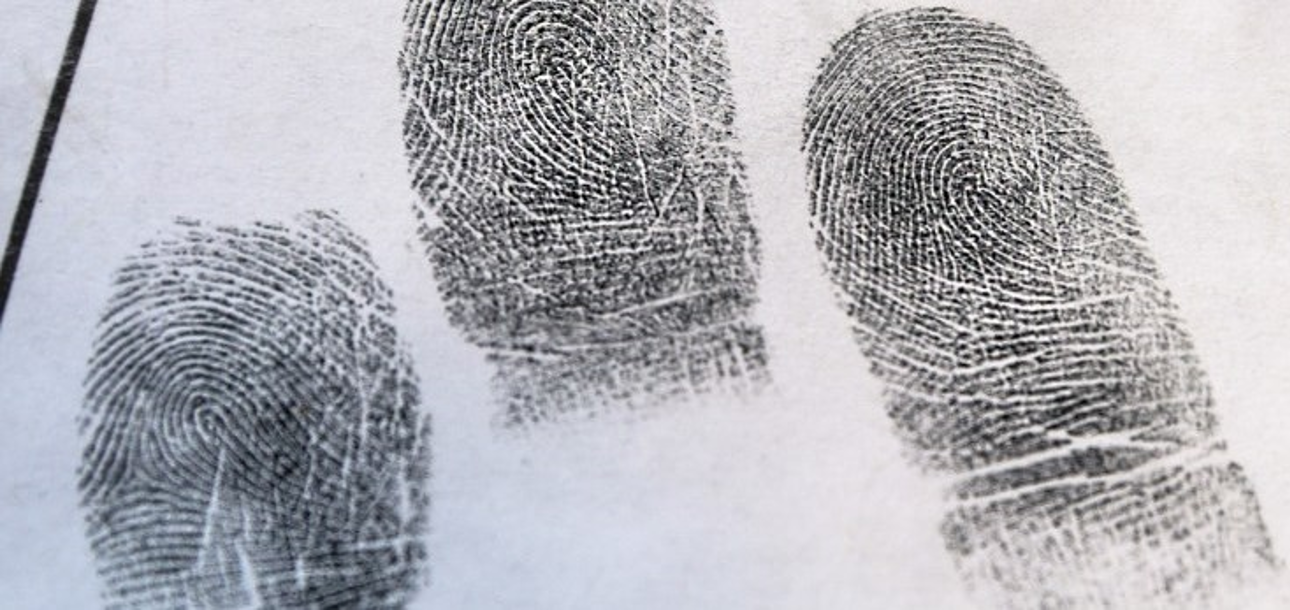
Results
- Jonathans middle fingerprint was the clearest and came out the clearest out of the 3 prints I had dusted
- Unfortunately I smudged a section of the print while lifting with tape
- Which is why it is very important to take photos of the imprints of the print before lifting
- With the homemade materials I had, the fingerprints came out better than I would have expected but would be if shown in court would be considered of ‘lower quality’
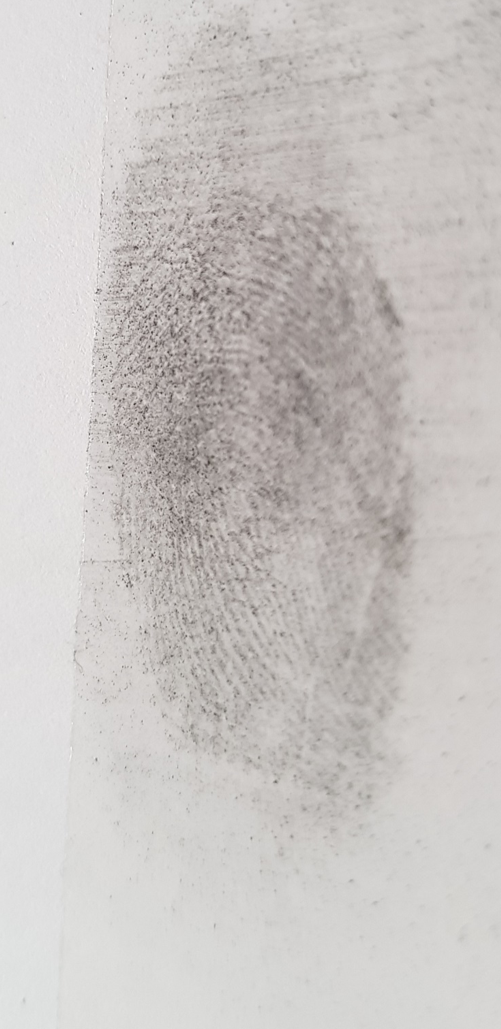
Jonathan’s Ring Finger
The Standard and Average Quality Print
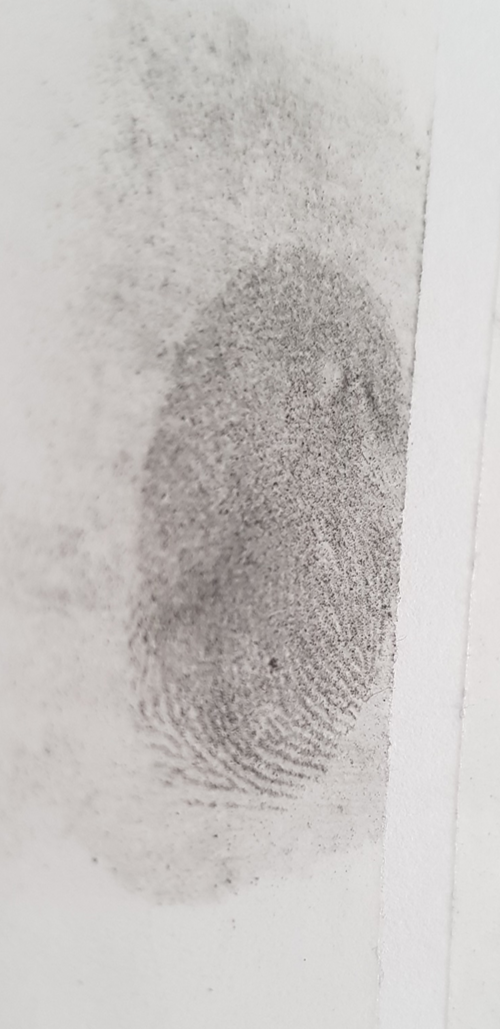
Jonathan’s Middle Finger
The Clearest and Highest Quality Print
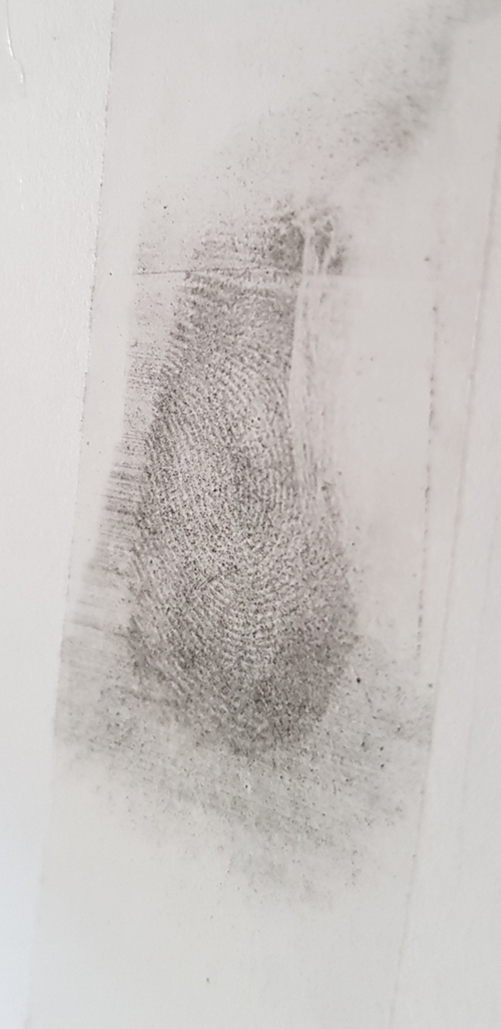
Jonathan’s Index Finger
The Least Visible and Lowest Quality Print
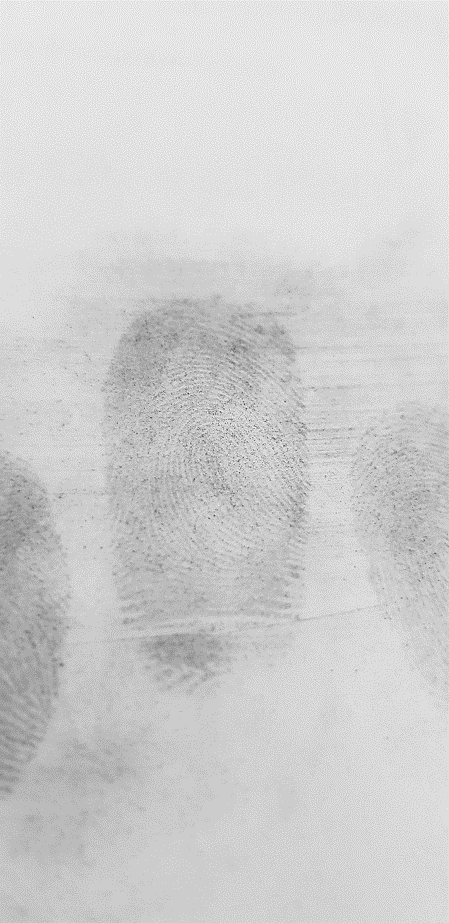
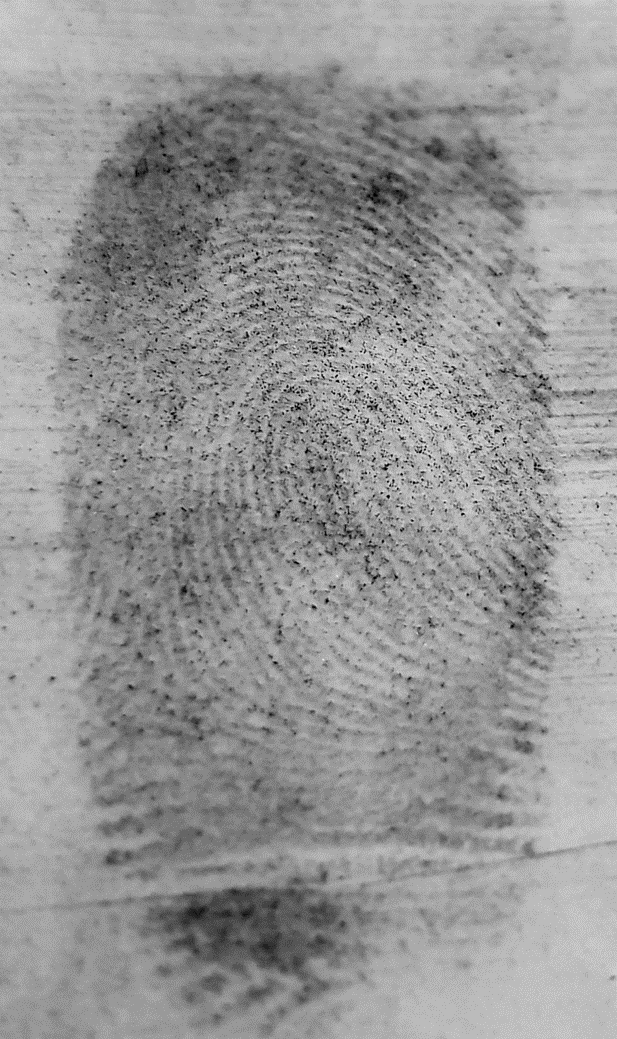
Enhanced Results
- These 2 photos side-by-side show what would be considered a “Enhanced’ version of the previous photos
- Most of the time law enforcement will enhance photos to get a clearer image of the fingerprint but if your camera is of high quality you may not need the enhancement
- I enhanced these photos by editing the colour saturation, contrast and brightness levels
- The left photo shows a demonstration of how an expert would analyse a fingerprint with the naked eye
Conclusion
- These tests that I conducted were apart of my 3rd lesson activities.
- After all the notes from each lesson there are usually 2 or more activities to complete that compliment the assessment in some way.
- I knew from last term that I would not be becoming a police officer that specializes in forensic investigation but this activity made me want to do more field work
- This task showed me the full extent of the complexities of such a over looked and well-known forensic technique
- These tests link back to empirical reasoning with all of the experimentation's, methods and progression
